Nekt has completed the entire process to ensure that your data, generated in different places, is organized all together. Now it’s time to connect this data to a visualization tool, where you can effectively work with it and generate meaningful visuals. If your tool for data visualization is Grafana, here’s the guide to create the connection. For further information, access Athena Connection docs.Documentation Index
Fetch the complete documentation index at: https://docs.nekt.com/llms.txt
Use this file to discover all available pages before exploring further.
First of all, you need to generate some AWS credentials - Access Key ID and Secret Access Key. Use this guide from AWS to learn how.
1. Enable Athena connector
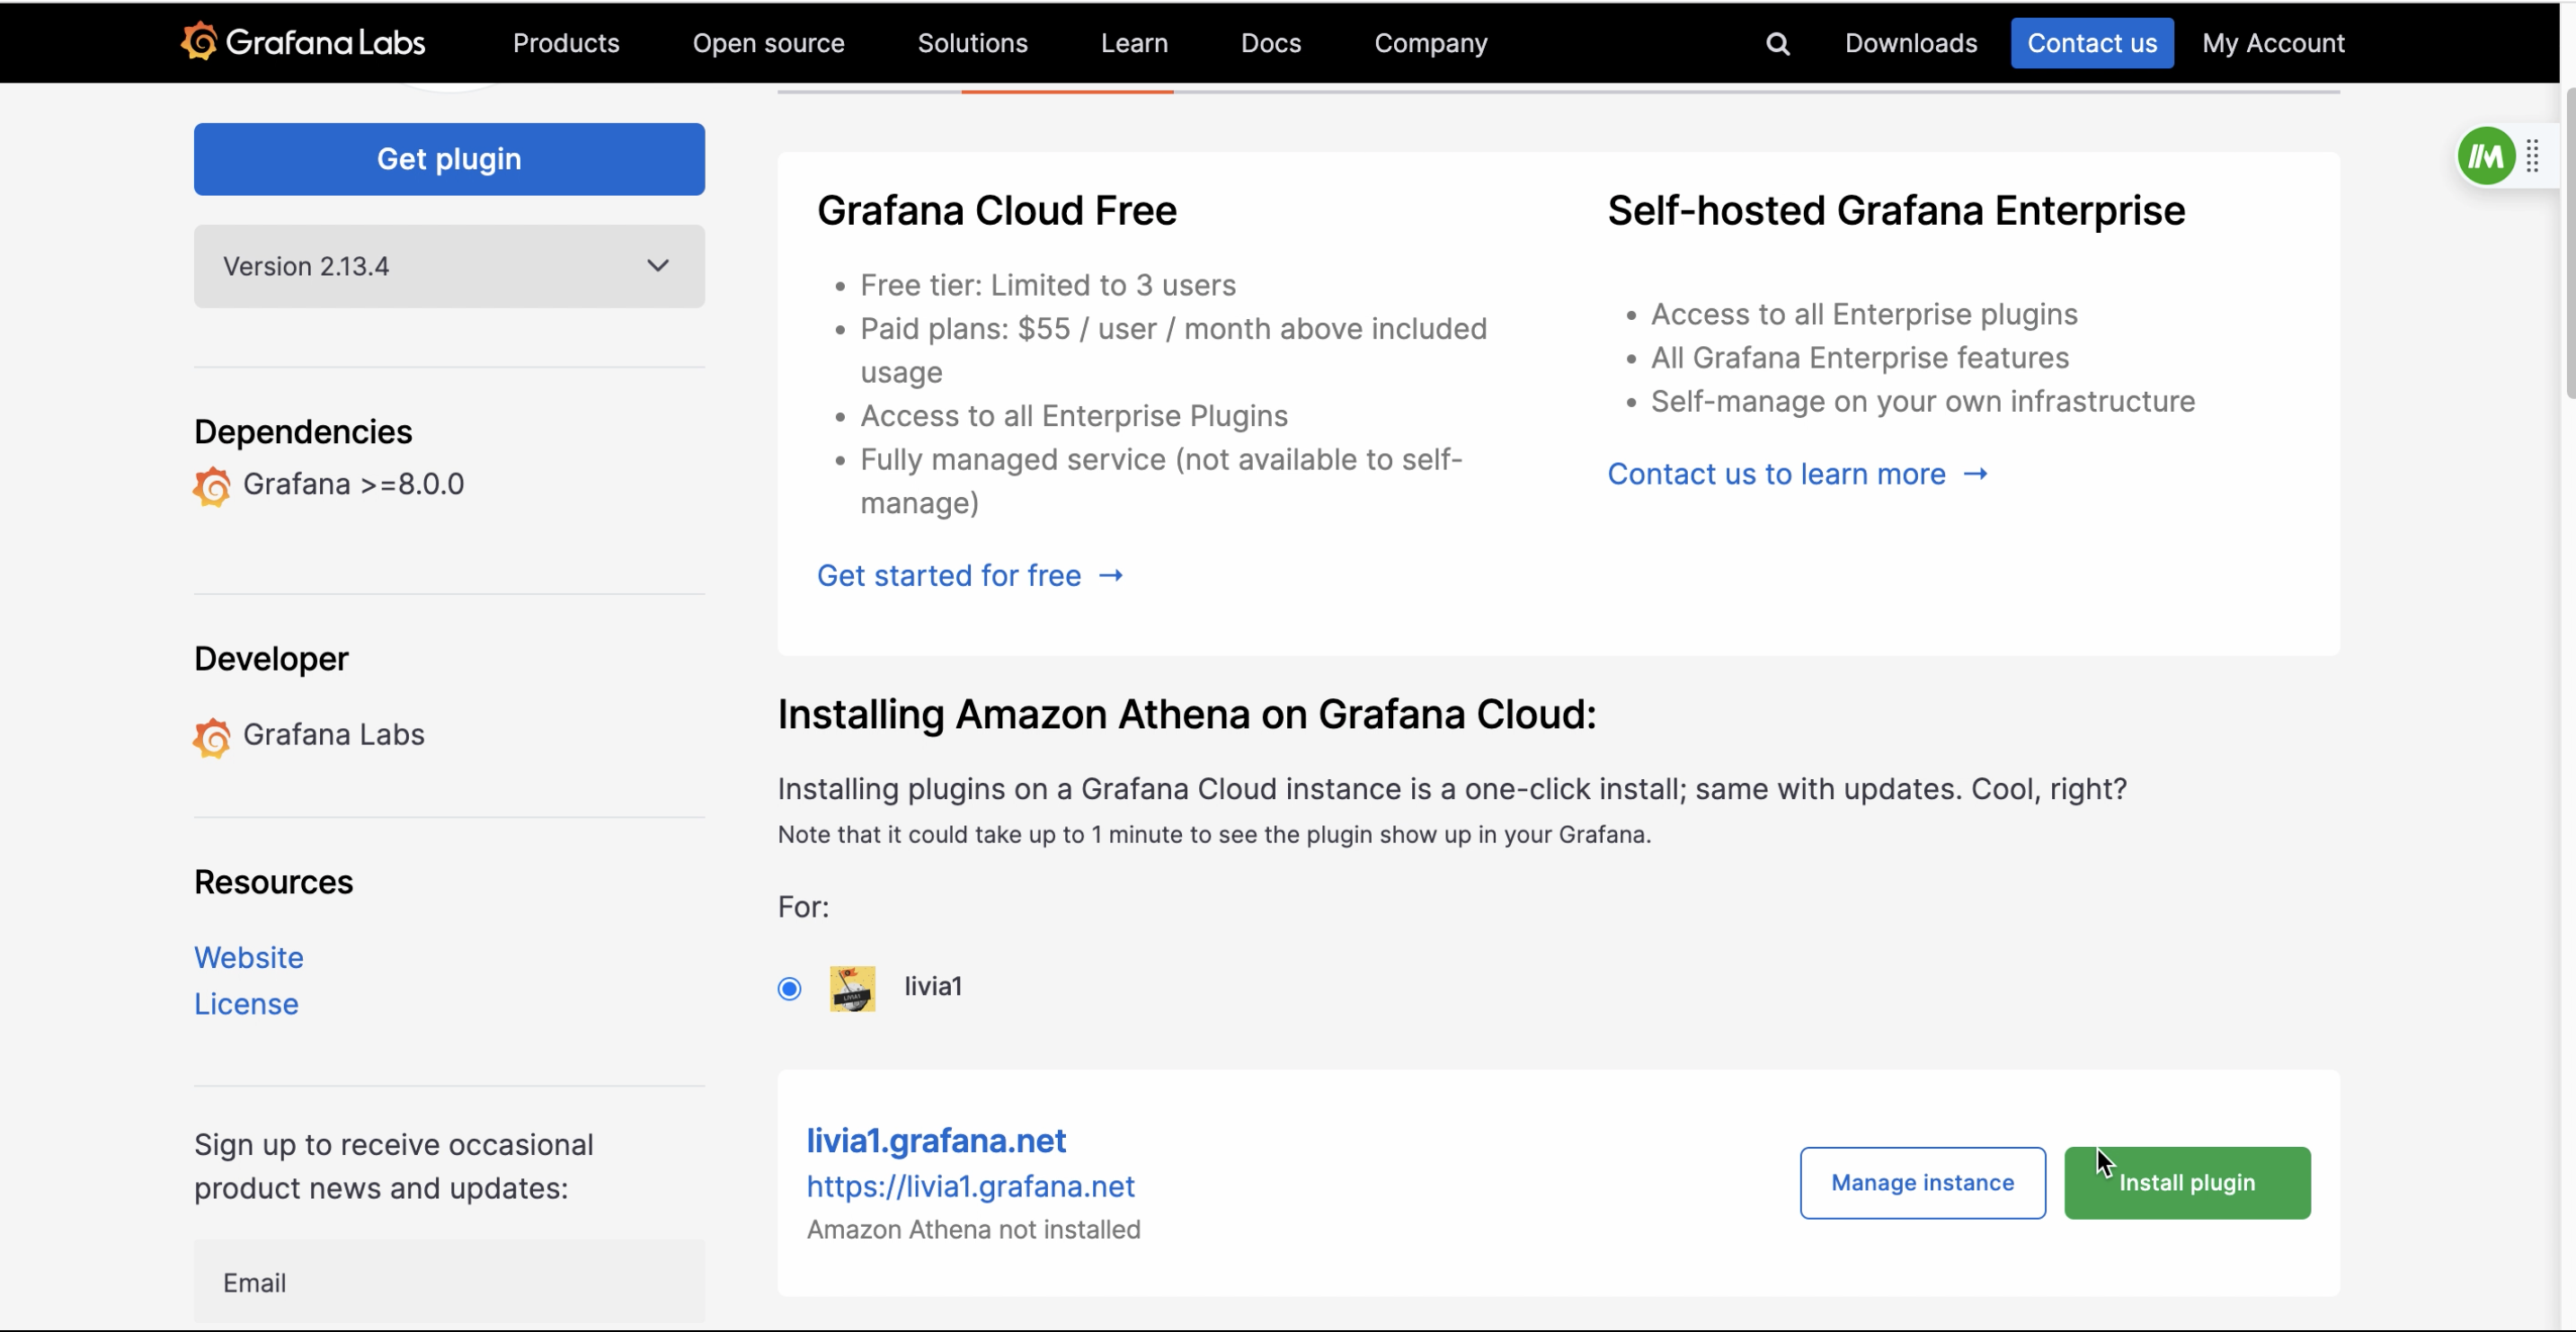
With Nekt, your data is securely stored inside AWS catalog. Athena is an AWS service that enables data analysis. Therefore, Grafana will use Athena as a connector to your data. Inside Grafana, go to Add new connector and search for Amazon Athena. You can filter the results by data sources to help you find it.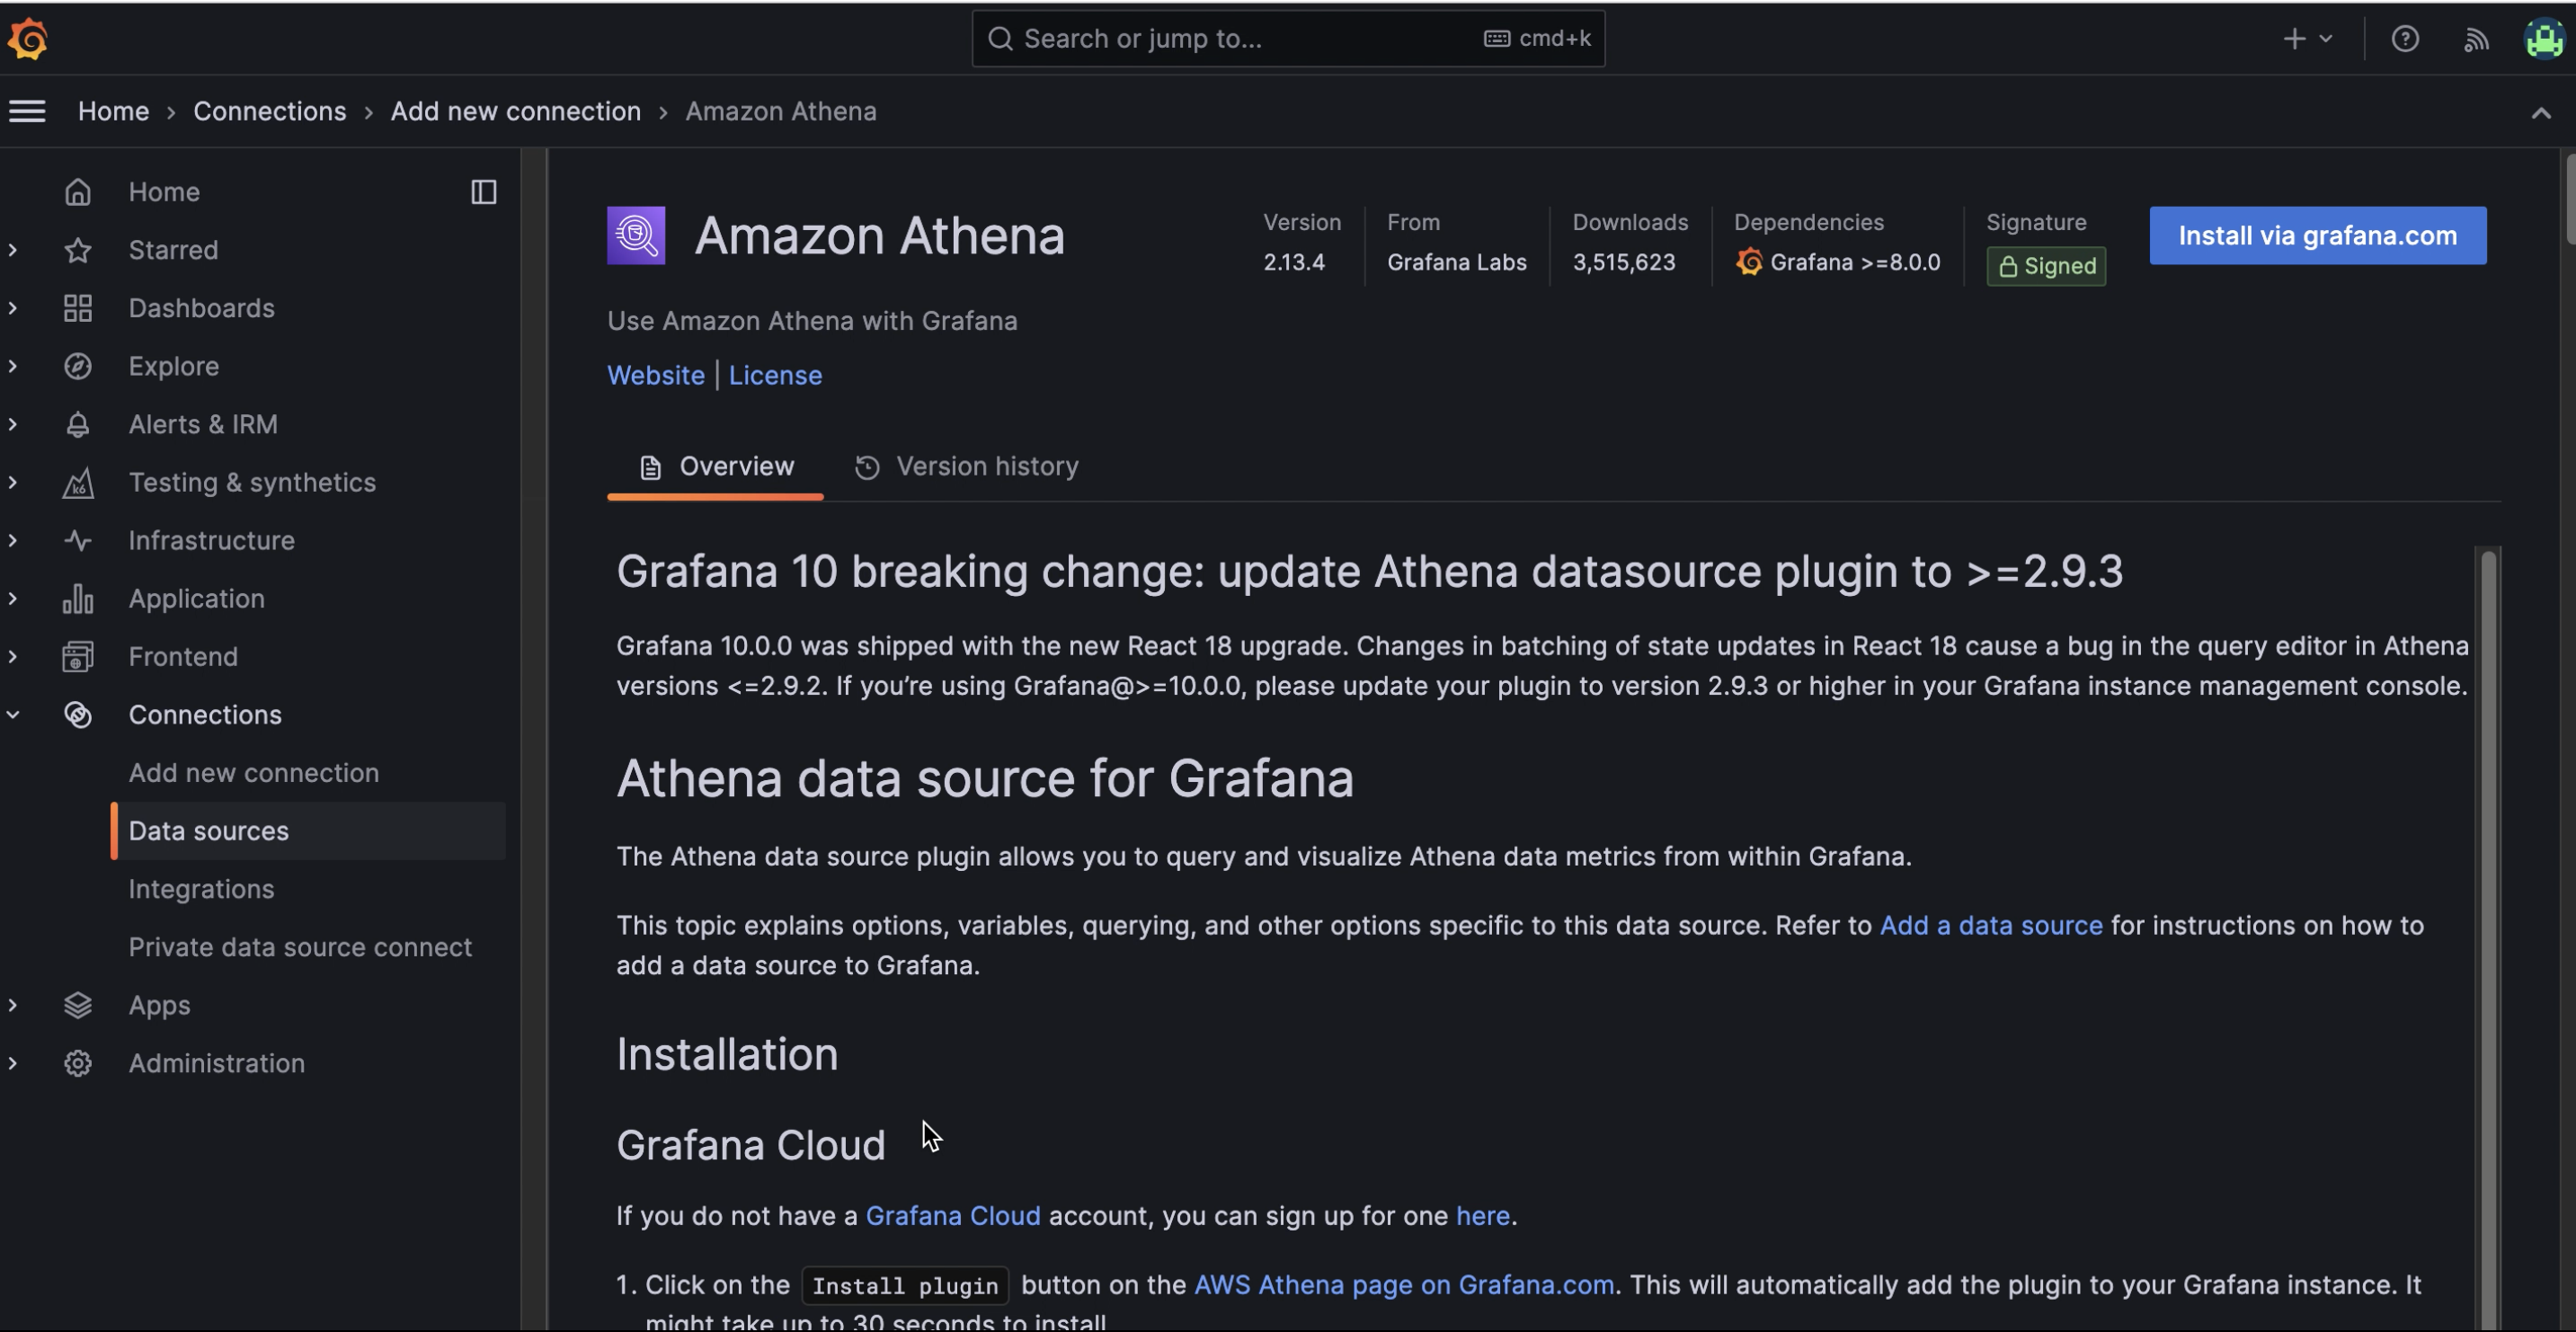
2. Set up the Athena data source
Now, you go to the Data Sources page inside Grafana, click on Add data source and you should be able to find Amazon Athena on the list.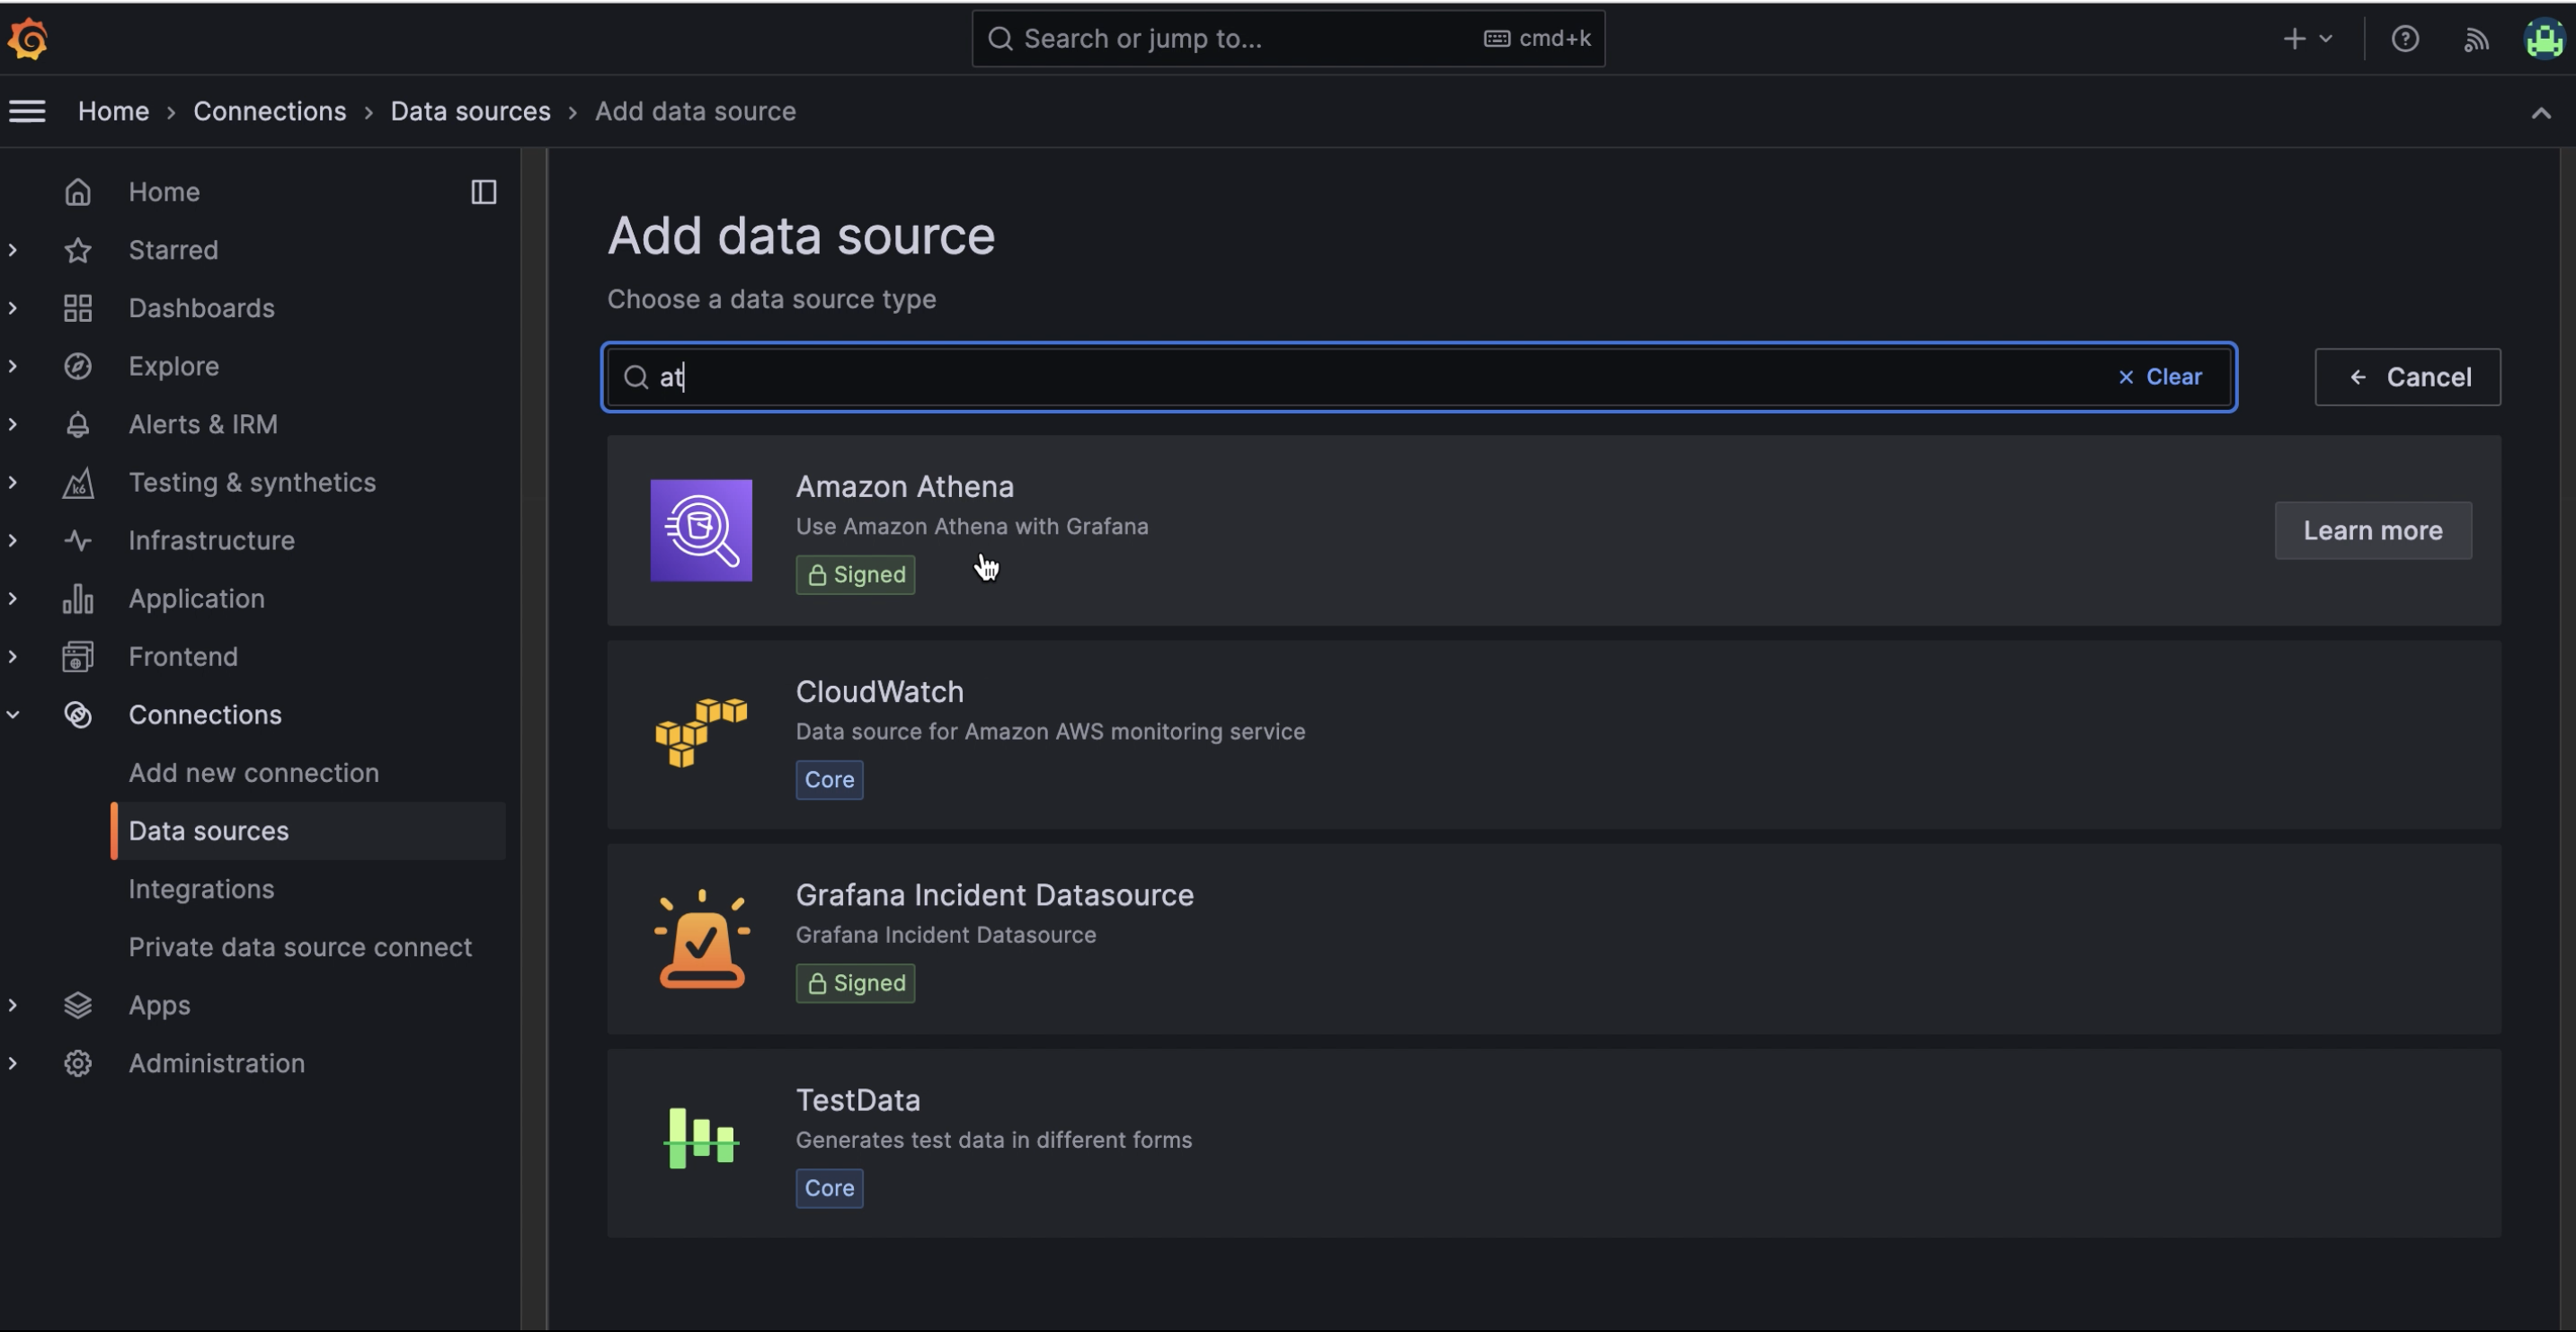
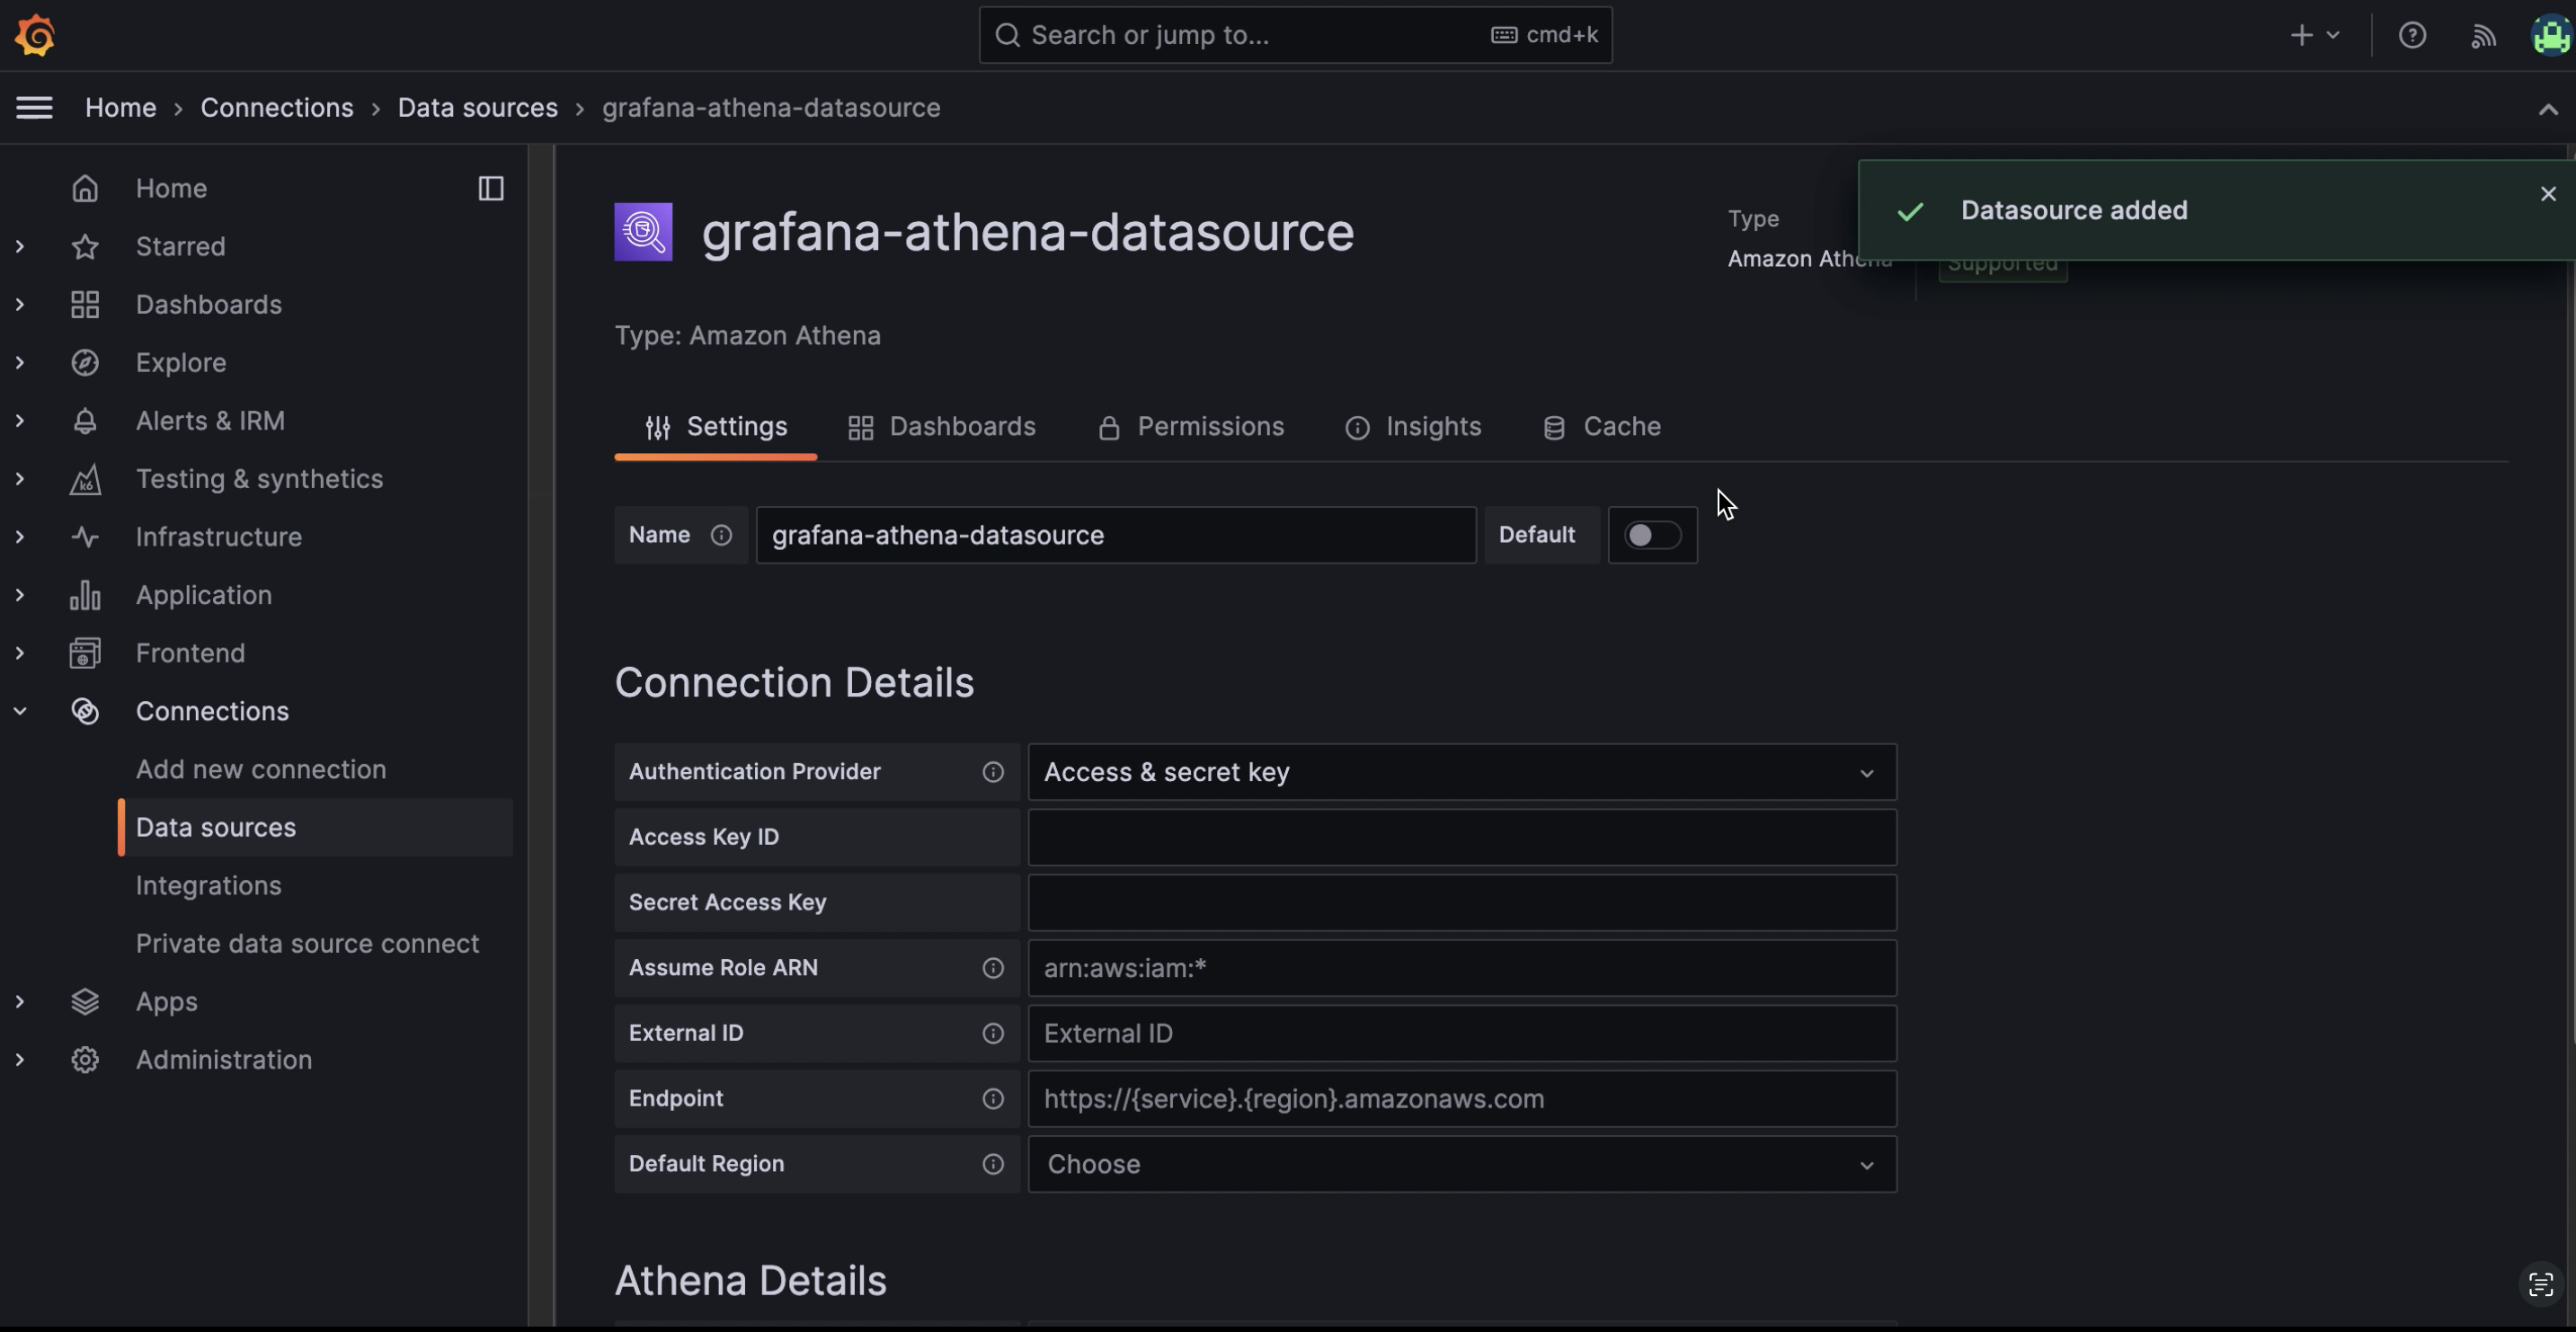
- Data Source: select the option
AwsDataCatalog. - Database: select the name of the database you want to connect. Each layer in Nekt corresponds to a database.
- Workgroup: select the option
primary. - Output Location: insert the following value
s3://nekt-lakehouse-{your_company_slug}/_athena. Please get in touch with Nekt to get your company slug.
Save & Test and you should be ready to go!
3. Test and connect
Click on save and then test to make sure everything is working fine. You should now be able to create your dashboards.For further information, access Using the Amazon Athena Grafana Connector. Let us know through our chat if you face any blocker and we’ll be happy to help!