1. Choose Nekt’s connector
Access Looker’s Add Source page with this link to access our connector. On your first time using Nekt’s connector page, you will need to authorize its use. Click AUTHORIZE and use your email to proceed. Click Allow to confirm permissions in this step.2. Configure the connection
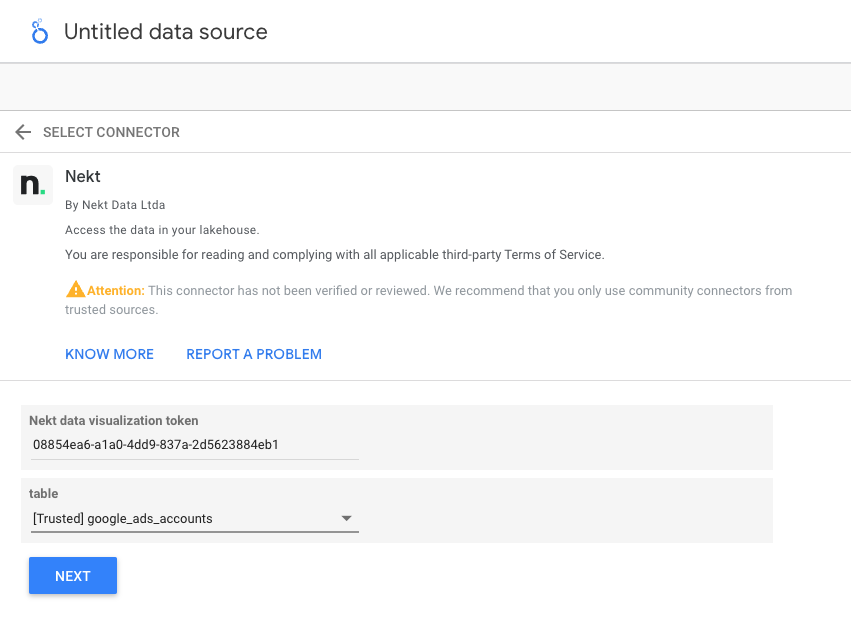
With the Nekt connector selected and authorized, you must now enter the access parameters.- Nekt data visualization token: It is a token that provides access to the tables you have access permissions. Check how to generate the token here.
- Table: Looker allows the connection with a single table at a time. So here you have the option to select the table you want to connect to among the ones you have access to (considering the informed token).
- Date range column name: If date range is applied in the report, the corresponding column to apply the filtering conditions.
- Row limit: Maximum number of rows to fetch in each query. Default is 1000. If set to -1, all rows will be fetched.
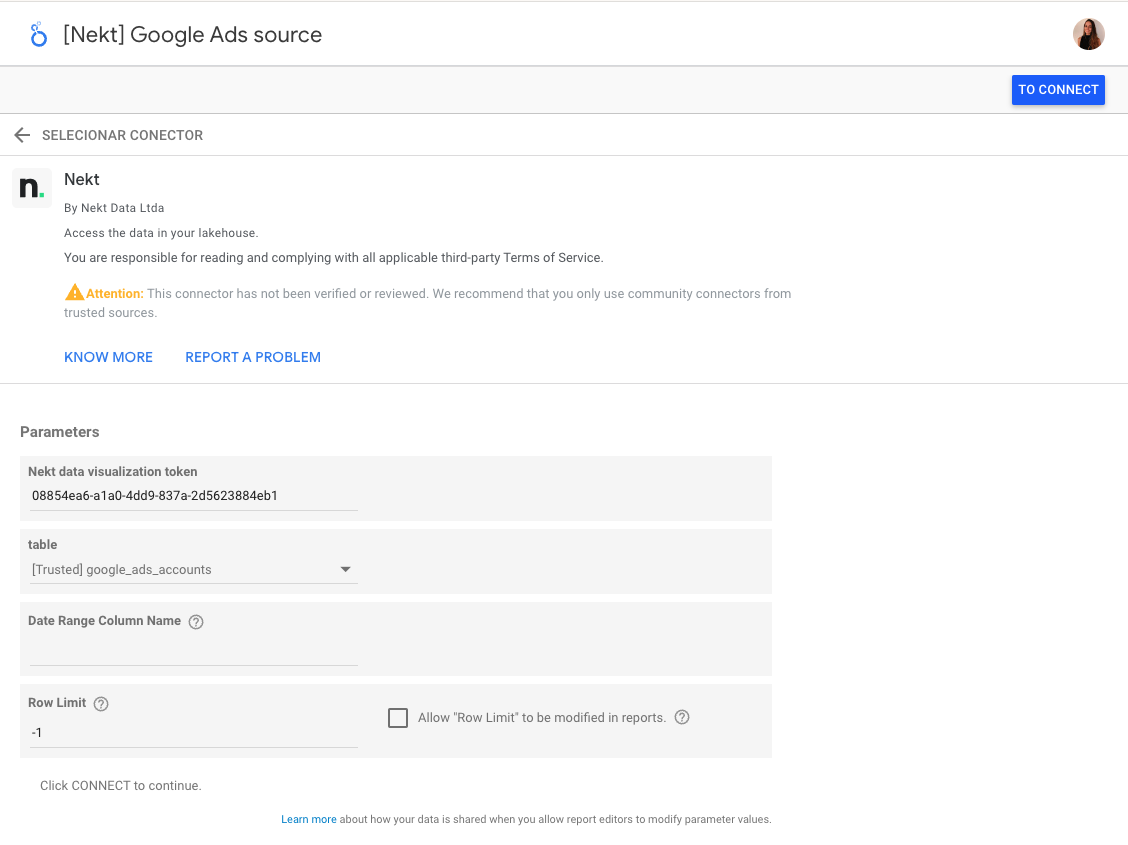
3. Connect and explore
Click Connect, in the top right corner of the page and you’re done! You will have a preview of the columns in the selected table and can proceed with analyses by clicking Explore or Create Report.Let us know through our chat if you face any blocker and we’ll be happy to help!