Nekt Express
Nekt Express uses GCP infrastructure. Connect Grafana via the BigQuery data source plugin.Detailed BigQuery plugin setup for Grafana is available in the Grafana BigQuery documentation. You will need a Google service account with BigQuery read access to your Nekt project (
nekt-hosted-infrastructure).- In Grafana, go to Connections → Add new connection and search for Google BigQuery.
- Install the plugin and add it as a data source.
- Authenticate using a Google service account with access to the
nekt-hosted-infrastructureproject. - Select your dataset (each layer is a dataset in BigQuery) and start building dashboards.
GCP
Your Nekt workspace is on your own GCP account. Connect Grafana using the BigQuery plugin with your own project credentials.You will need a Google service account with BigQuery read access to your GCP project. Refer to the Grafana BigQuery plugin documentation for setup details.
- In Grafana, go to Connections → Add new connection and search for Google BigQuery.
- Install the plugin and add it as a data source.
- Authenticate using your GCP service account credentials.
- Select your project, dataset, and tables.
AWS
Your Nekt workspace is on your own AWS account. Connect Grafana using the Amazon Athena plugin. You will need AWS credentials (Access Key ID and Secret Access Key).Generate AWS credentials using this AWS guide.
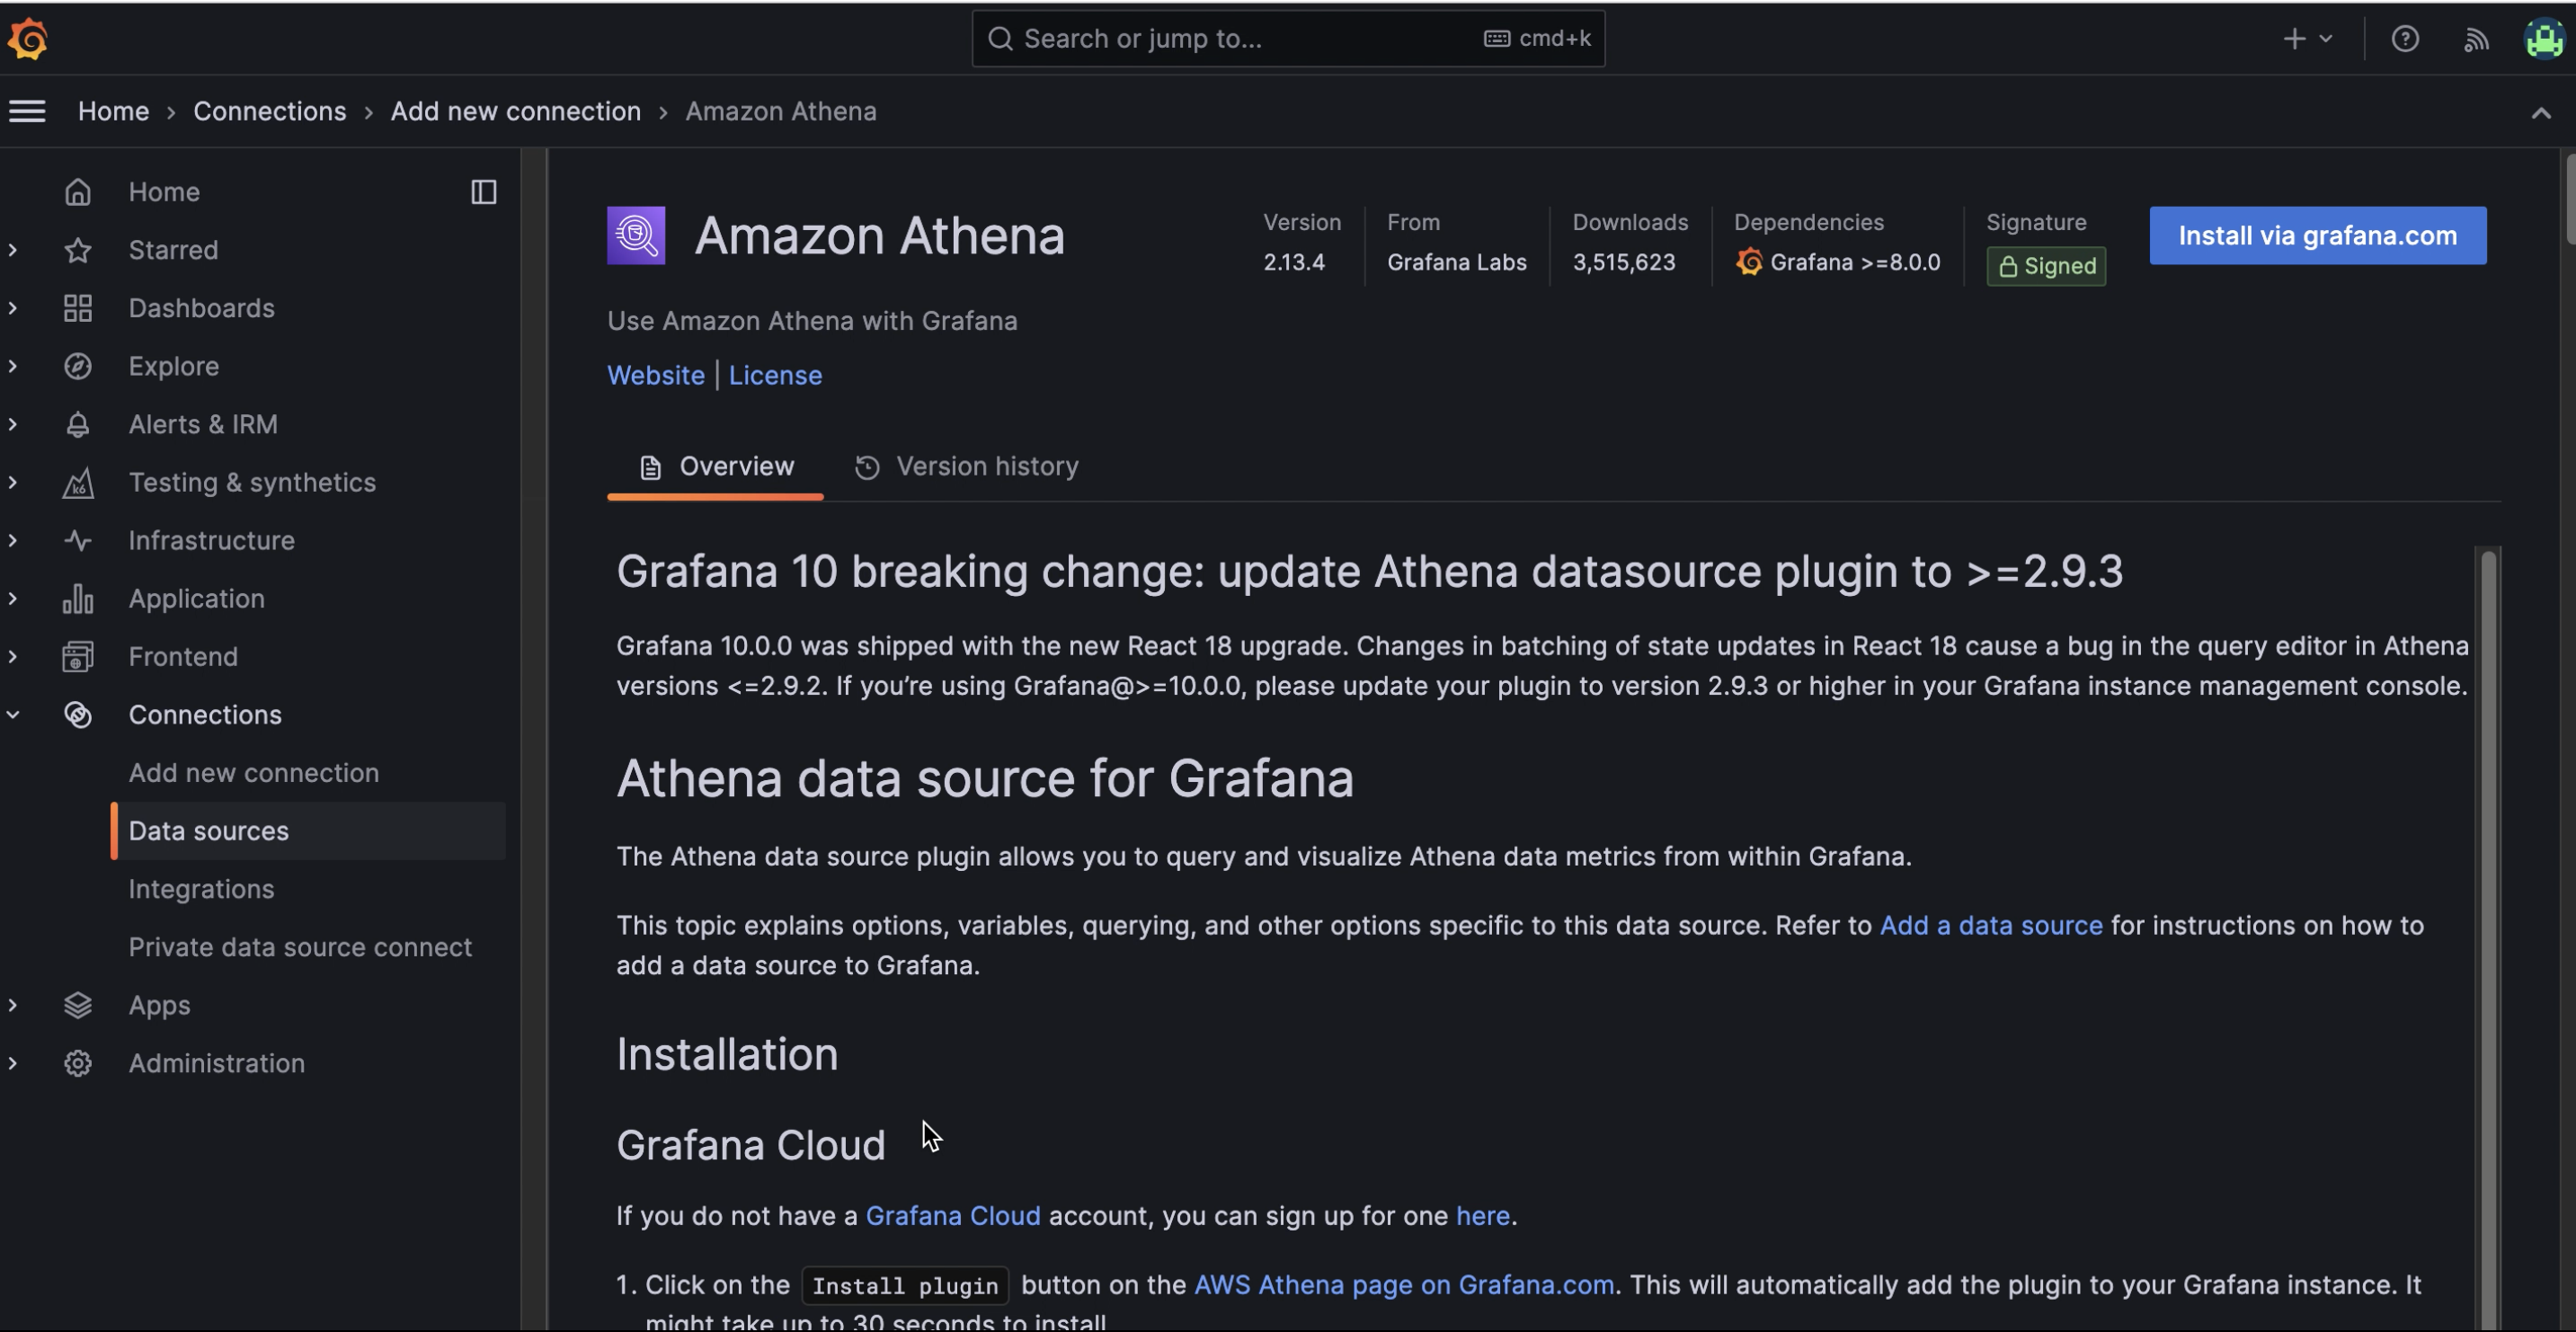
Step 1: Install the Athena plugin
- In Grafana, go to Connections → Add new connection and search for Amazon Athena.
- Filter by Data sources if needed.
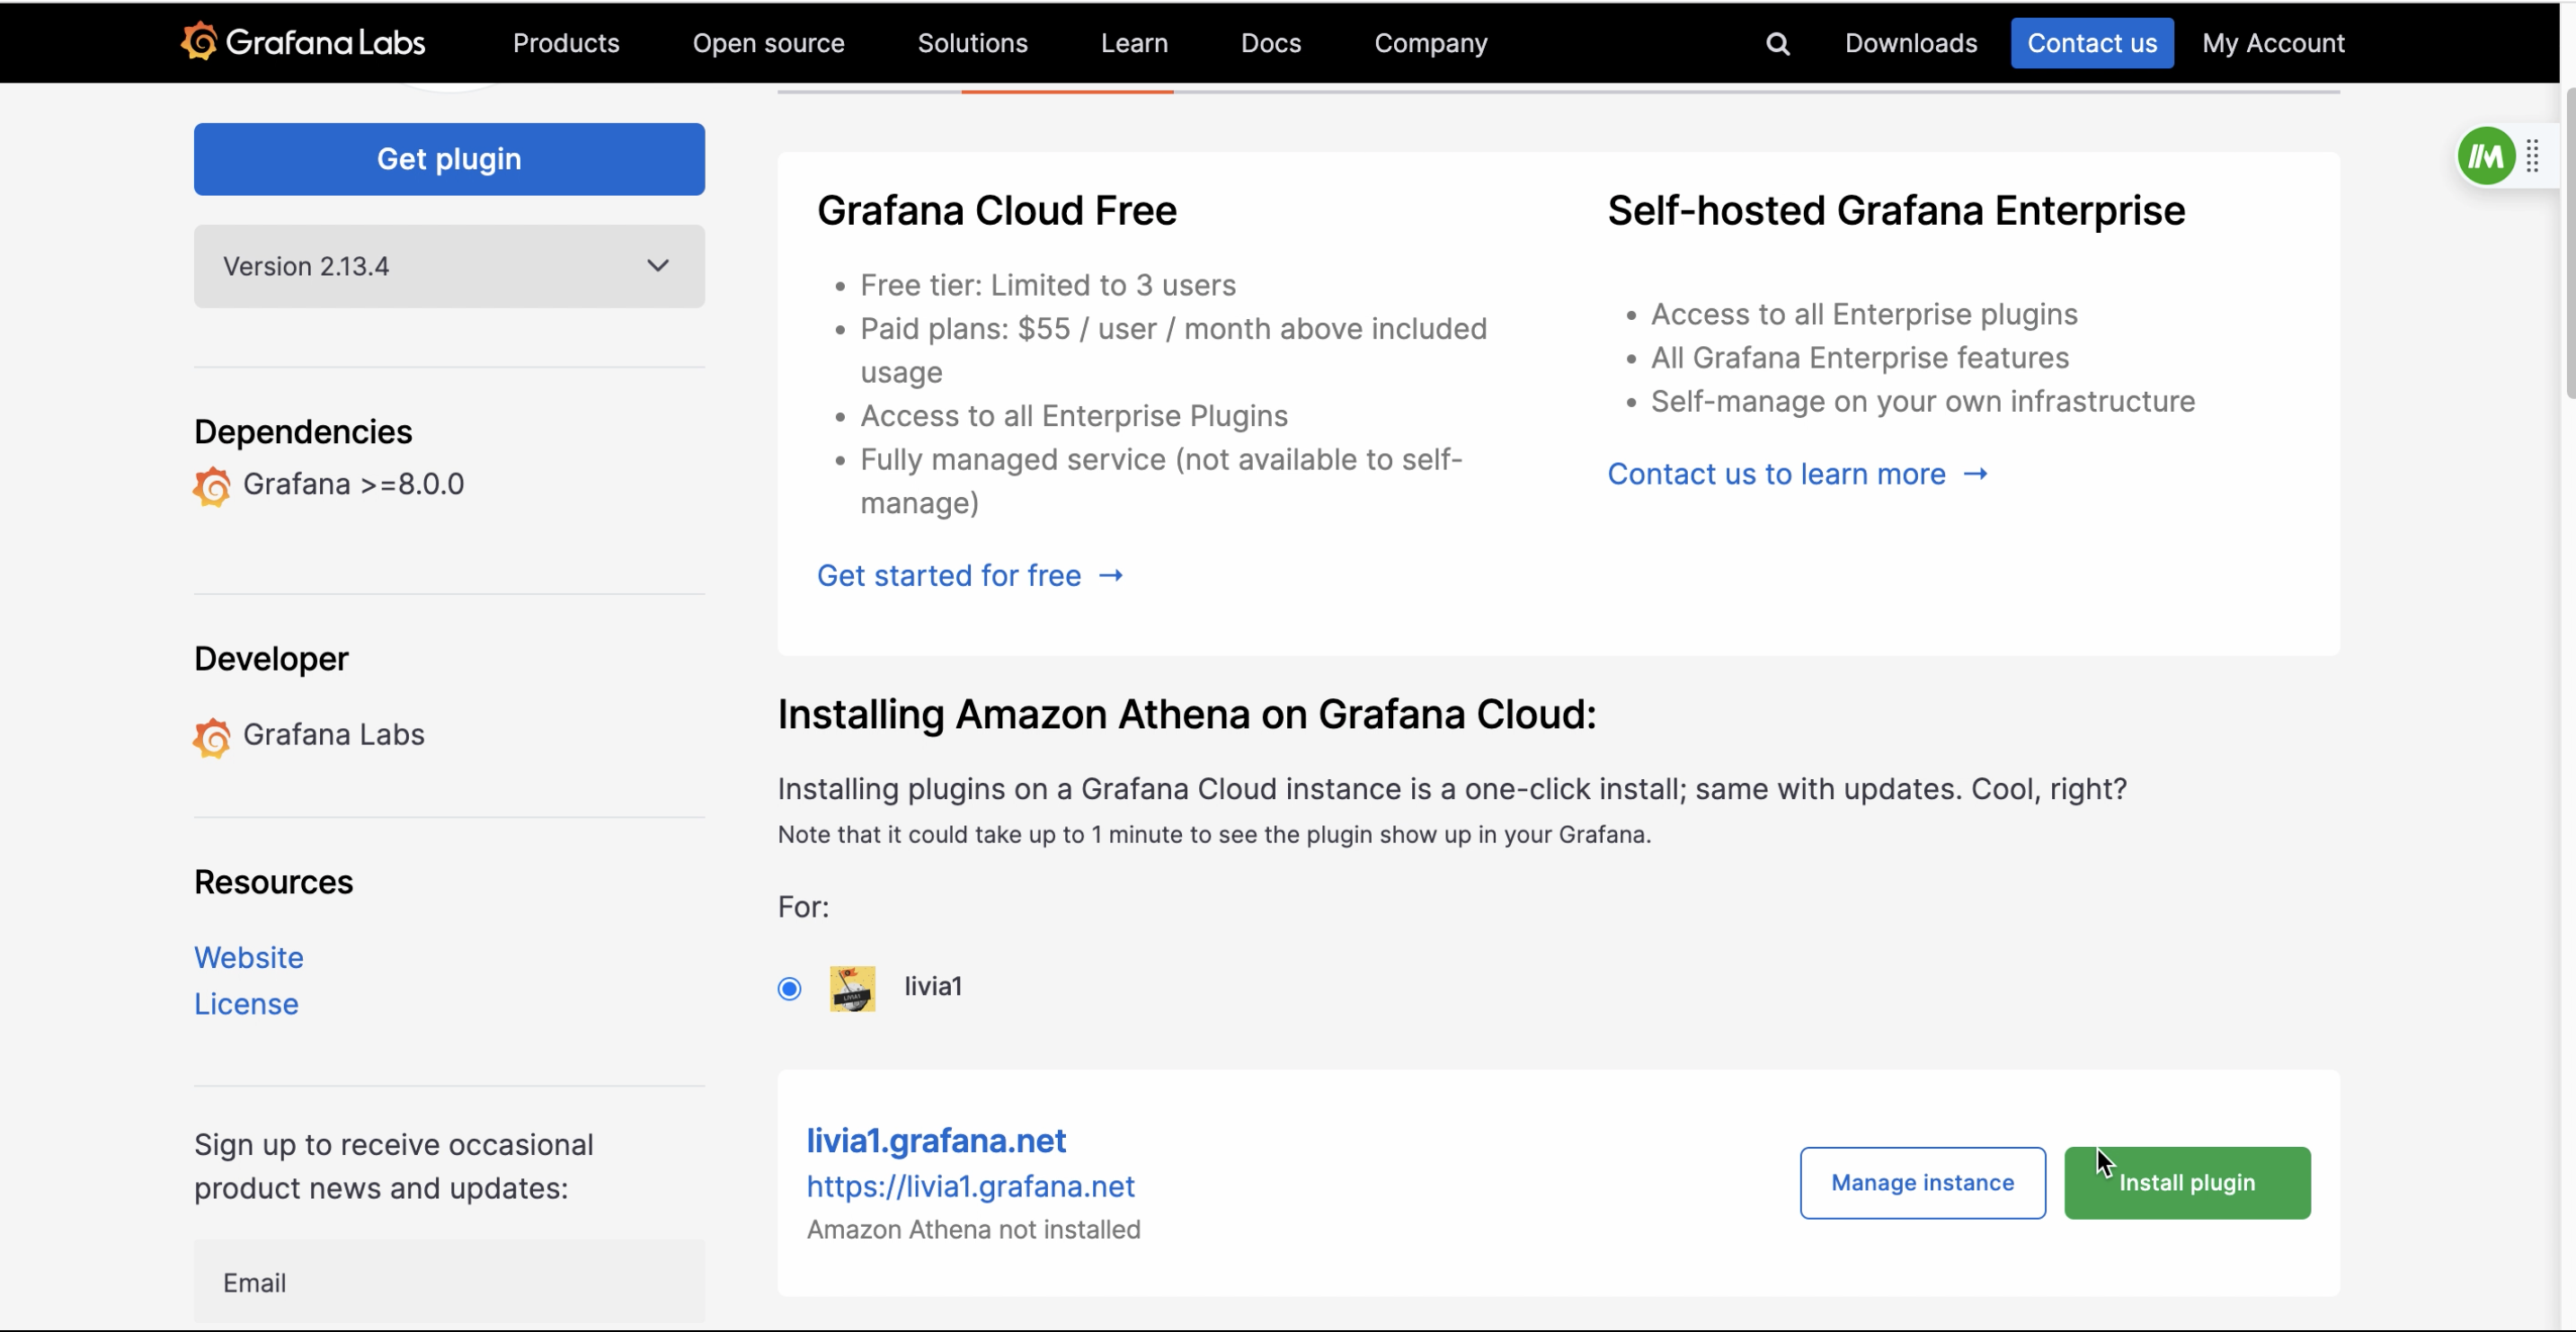
- Click Install via grafana.com.
Step 2: Configure the Athena data source
-
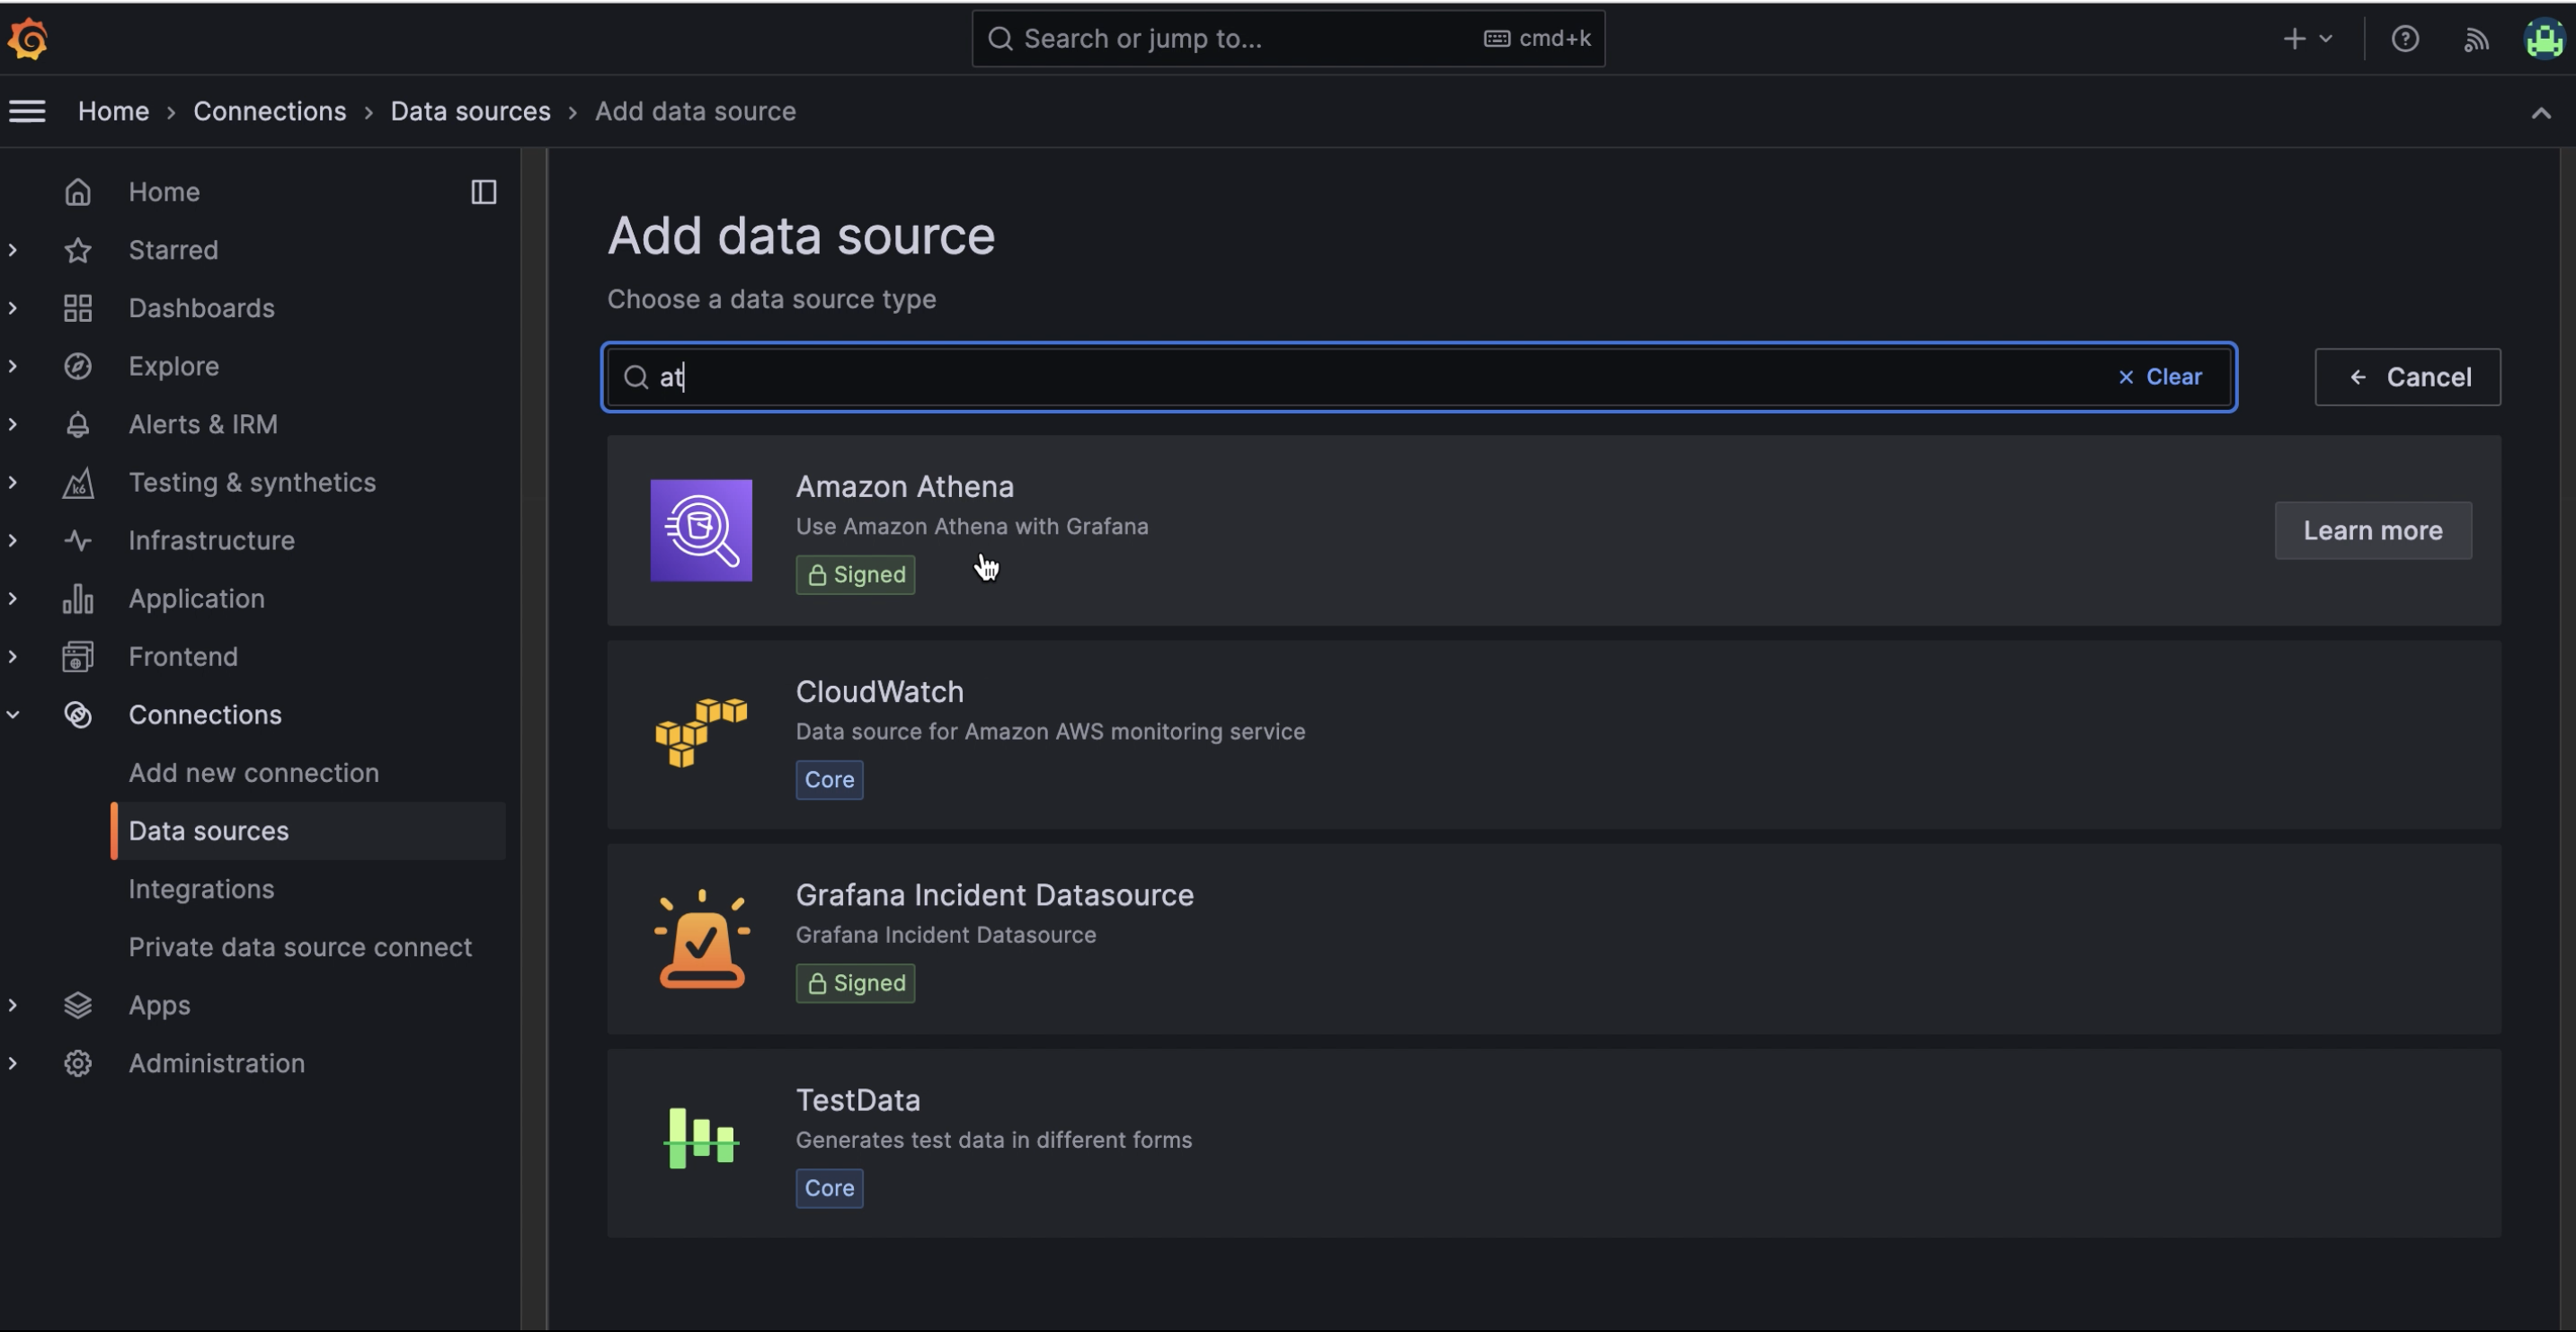
Go to Connections → Data Sources → Add data source and select Amazon Athena.
-
Keep the default authentication provider (Access and secret key) and enter your Access Key ID and Secret Access Key.
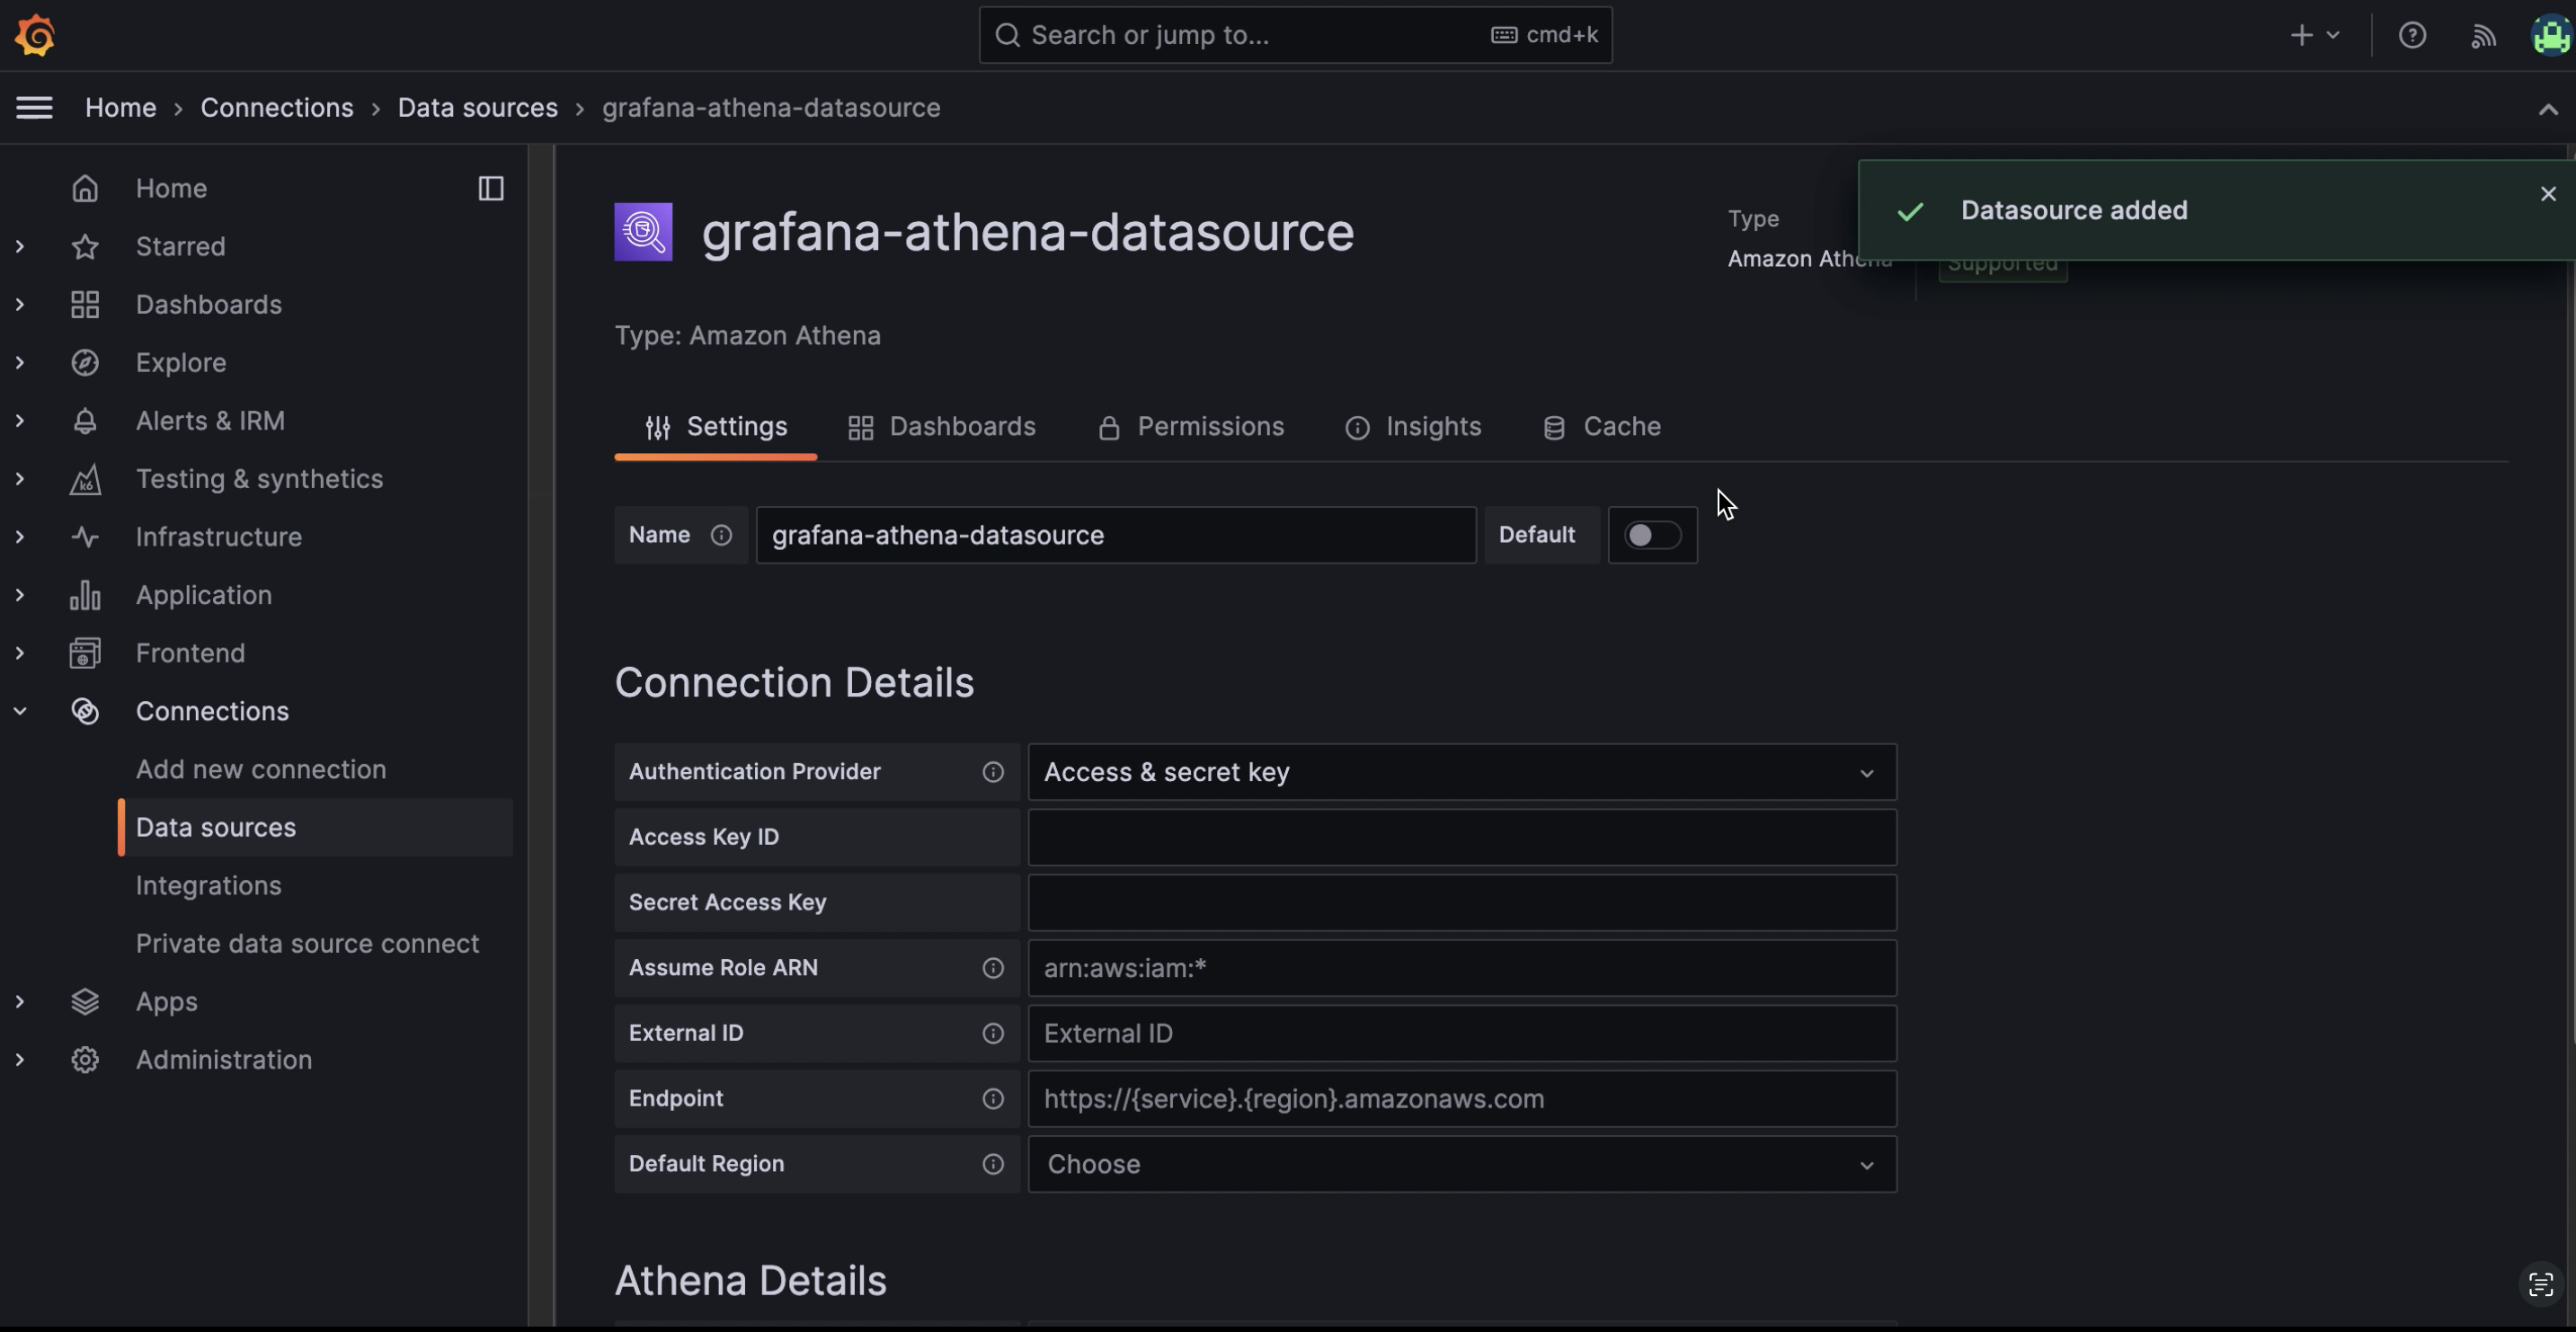
- Enter the AWS region where your Nekt workspace is hosted.
-
Fill in the Athena details section:
- Data Source:
AwsDataCatalog - Database: the layer you want to connect (each layer is a database)
- Workgroup:
primary - Output Location:
s3://nekt-lakehouse-{your_company_slug}/_athena
- Data Source:
Step 3: Save and test
Click Save & Test. If the connection is successful, you can start building dashboards.For more details, see Using the Amazon Athena plugin for Grafana.